Grading Style and Code Quality by Hand
Autograder.io provides a system for evaluating student code by hand that can be used alongside automated test cases. The two core mechanisms available for evaluating student code are “checkboxes,” which can be used for yes/no criteria that apply to broad parts of the source code, and “annotations,” which are pre-build comments that are applied to specific lines of the source code.
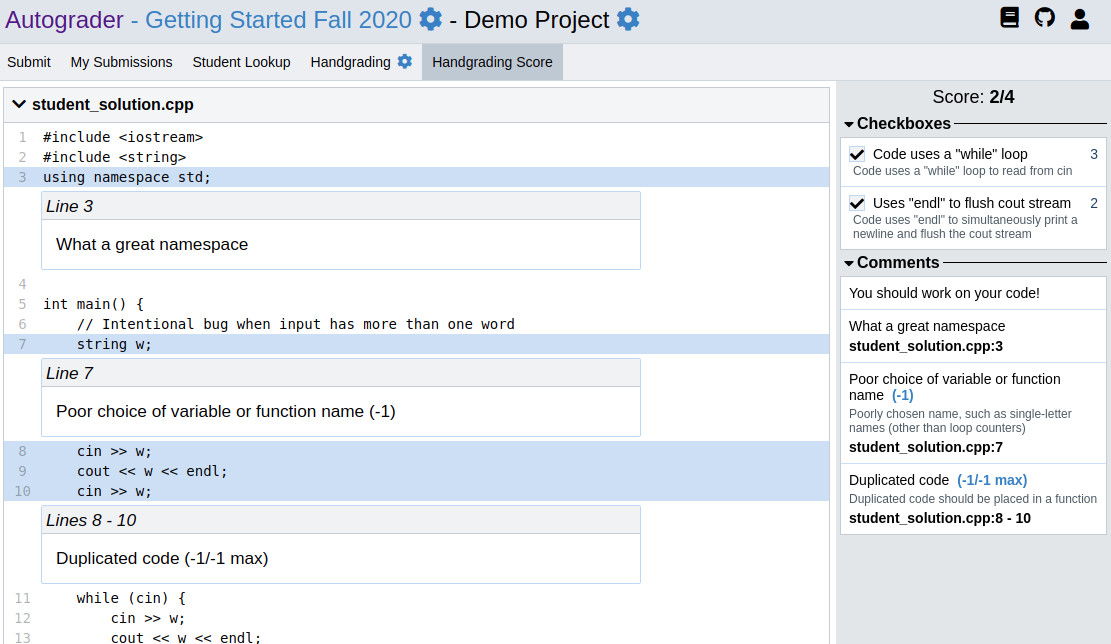
Here’s an example of our handgrading system in action:
Create and Configure the Handgrading Rubric
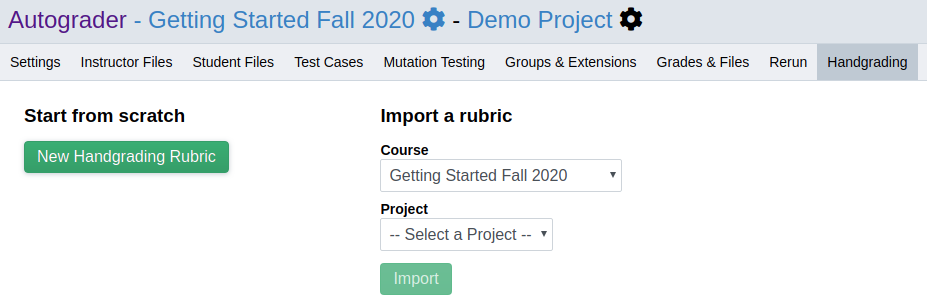
Under the “Handgrading” tab of the project admin page, click the “New Handgrading Rubric” button to create an empty rubric. Alternatively, select a course and project to import an existing rubric from and click the “Import” button.
Configure the Basic Settings
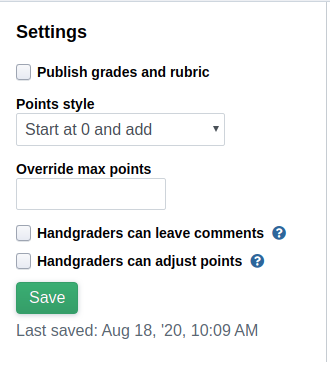
“Start at zero and add” points style: When this points style is selected, the maximum number of points possible is computed automatically as the sum of all positive checkbox points (see below for info on checkboxes). The example in this guide uses this points style.
You can override the maximum number of points possible by setting the “Override max points” field to the desired value. Note that doing so will allow for “extra credit” if the number of points awarded exceeds that value.
“Start at max and subtract” points style: When points style is selected, you must specify the maximum number of points possible. Handgrading scores will begin at this value, and you can apply deductions using checkboxes and annotations as desired.
Handgraders can leave comments: Staff and admins by default can leave arbitrary comments when handgrading student code. Checking this box will allow handgraders to do the same. Note that unlike annotations, these comments do NOT have point values attached to them.
Handgraders can adjust points: Staff and admins by default can arbitrarily adjust the handgrading score for a submission. Checking this box will allow handgraders to do the same.
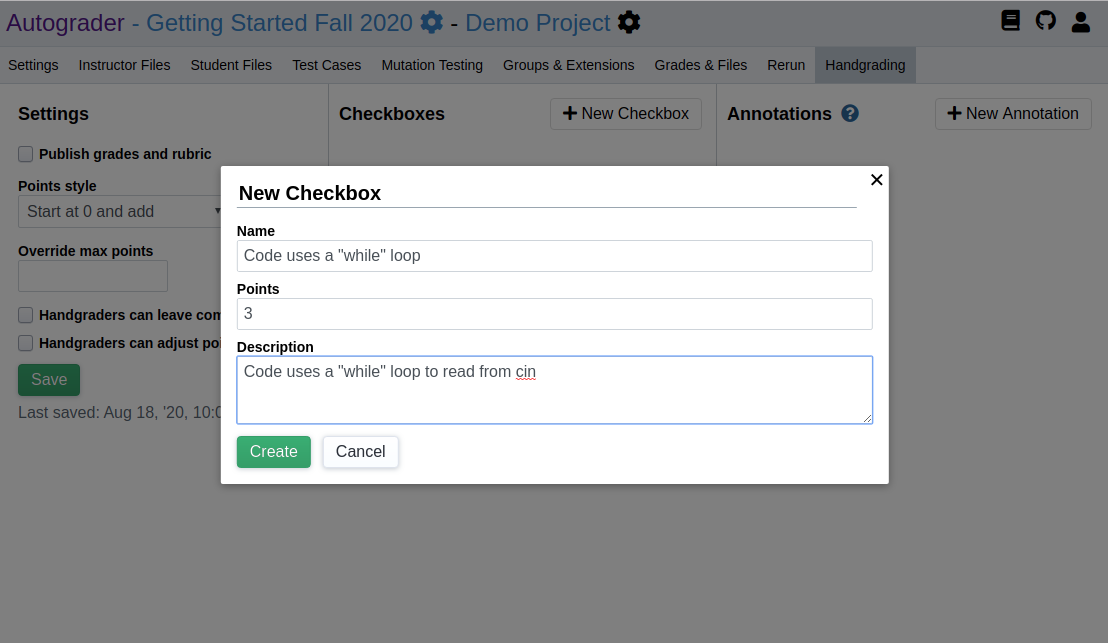
Add Checkboxes
To add a checkbox to your rubric, click the “New Checkbox” button and complete the form that appears. The “Points” field can be positive or negative.
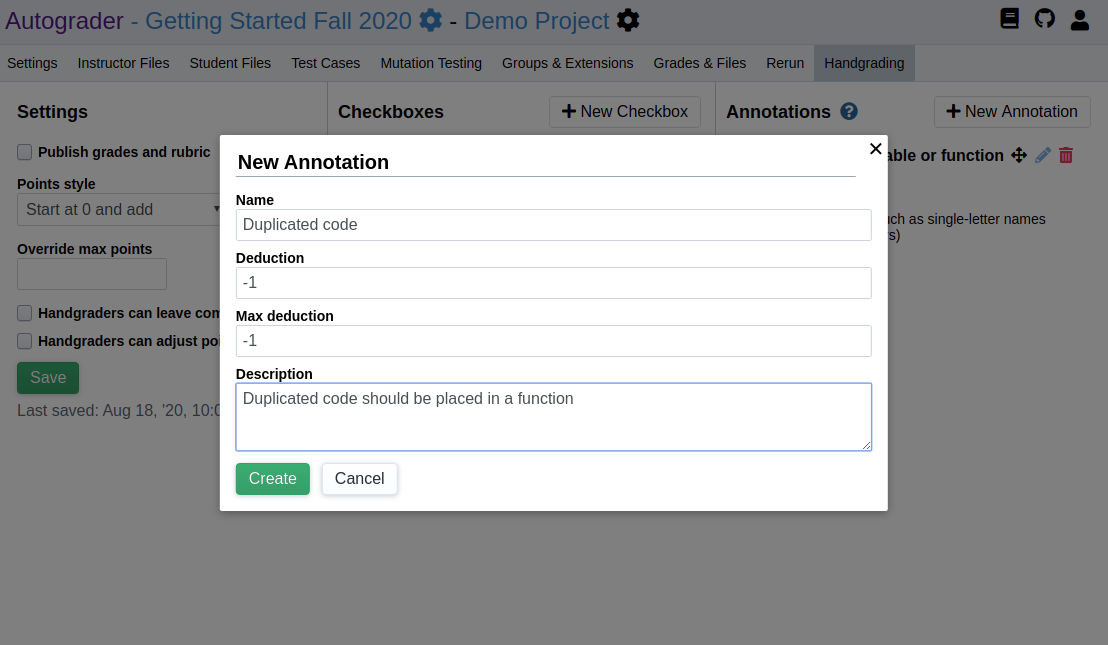
Add Annotations
Annotations are pre-formed comments with an optional points deduction that can be applied to specific lines of source code. The “Points” value must be zero or negative.
The “Max deduction” field, if not blank, specifies the maximum number of points to deduct from a student’s score from applications of this annotation. In the example below, even if we marked four instances of duplicated code in a student’s source code, that student would only lose one point.
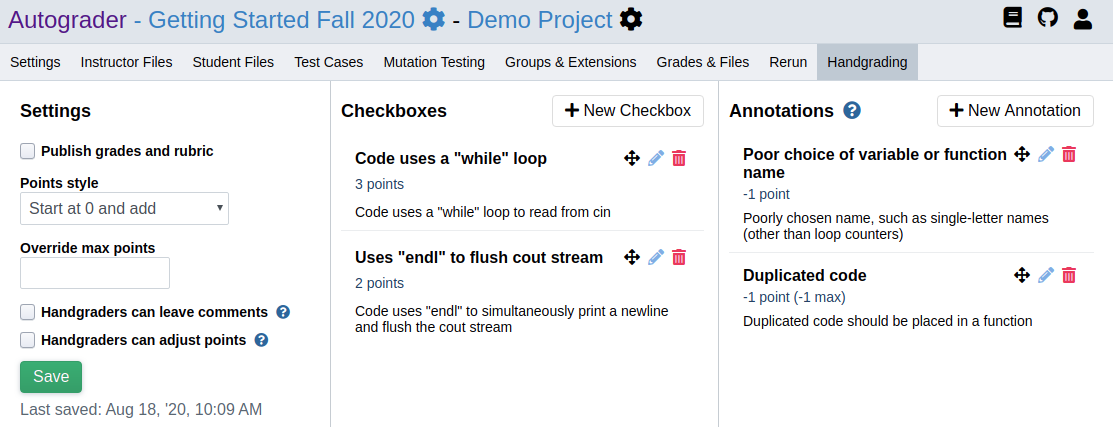
When we’re done adding all our checkboxes and annotations, it will look something like this:
Grade Submissions
Admins, staff, and handgraders can go to the project page and click on the “Handgrading” tab to start grading student submissions. We recommend that graders coordinate amongst themselves to avoid grading the same submissions, as Autograder.io doesn’t provide any safeguards against this.
Select a submission from the left sidebar, check the appropriate checkboxes, add annotations as needed, and then click the “Done” checkbox in the bottom-right corner before moving on to the next submission. The submission that is presented for grading is the same one selected for the student’s final project grade according to the chosen grading policy.
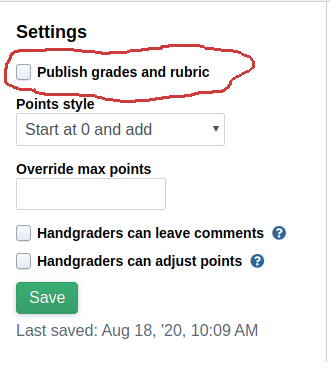
Publish Grades and Rubric
In the “Handgrading” tab on the project admin page, check the “Publish grades and rubric” box and click “Save” to publish handgrading scores. A new tab will appear on the project page where students can view their score.