Building Custom Sandbox Images with Docker
Autograder.io uses Docker images as its foundation for sandbox environments used to run test cases. For information on building Docker images, see the Docker documentation and Dockerfile reference.
Custom Docker images must meet the following requirements to work properly on Autograder.io:
The image must extend one of the base images defined in the base-docker-images repo or otherwise meet the requirements listed in that repo’s README.
The image must NOT use the CMD or ENTRYPOINT directives. Allowing these directives makes it harder for us to guarantee that containers created from the image won’t exit prematurely.
For the purpose of this guide, we will use the following minimal Dockerfile:
FROM eecsautograder/ubuntu18:latest
Once you’ve successfully built your image on your local computer, go to the admin page for your course and click on the “Sandbox Images” tab.
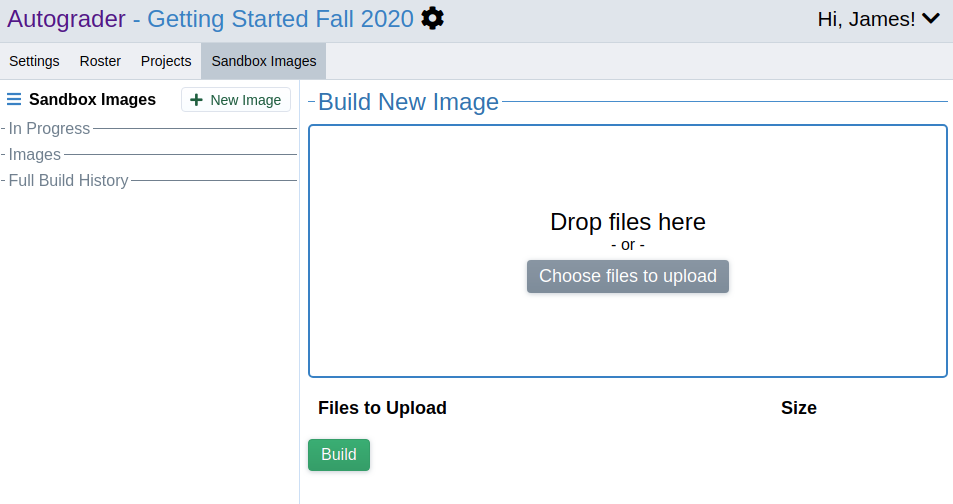
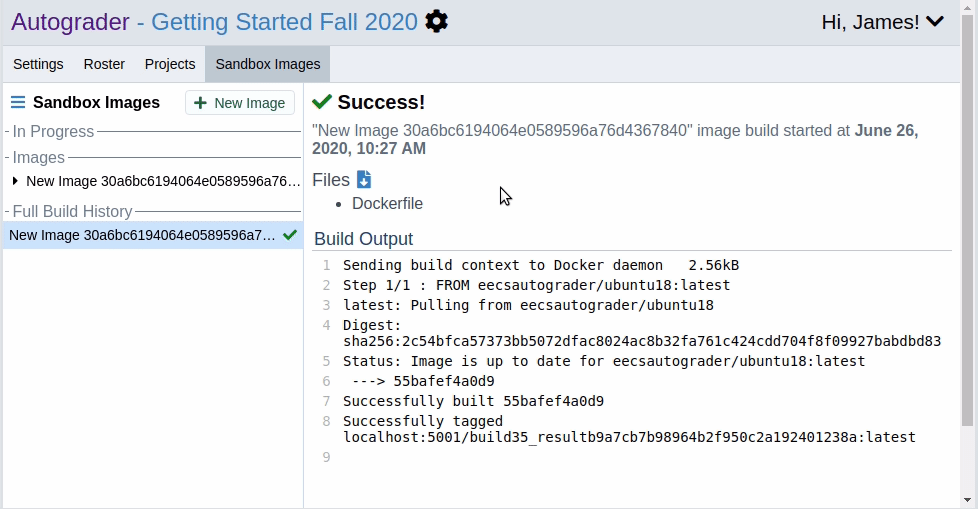
Add your Dockerfile and any other necessary files to the drop area and click the “Build” button. When your image finishes building, it will have a generic name of the form “New Image …” Click on the image in the sidebar and give it a new name.
To rebuild an image, click on the image name in the sidebar and scroll down to the “Rebuild …” section. Upload your files and click “Rebuild.”
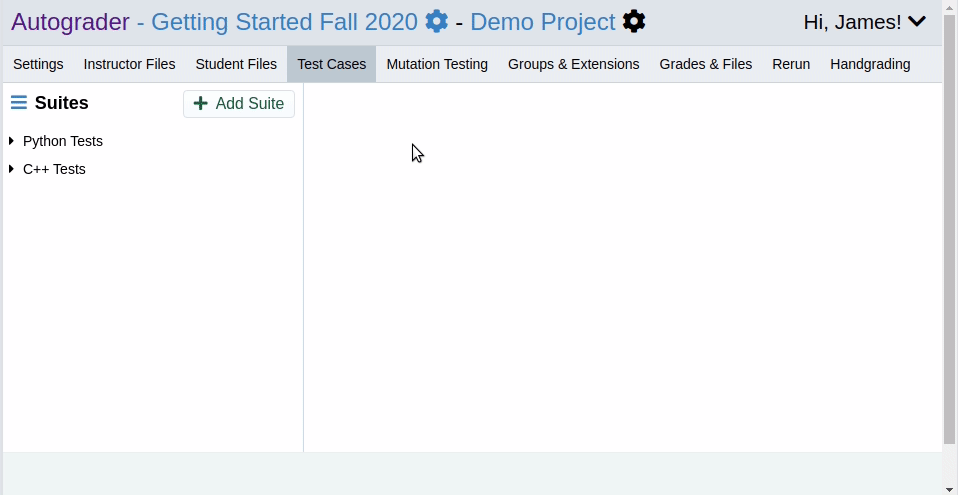
To use the new image in a test suite, navigate to the admin page for your project. Under the “Test Cases” tab, select the test suite you want to use the image with and select the image in the “Sandbox environment” dropdown.
Tips and Tricks
To preserve system integrity, we place a 10 limit time limit and some memory and cpu usage limits on image builds. This can cause some build tasks to time out even if they succeed on your local machine.
The easiest way around this is to use a base image as follows:
Create an account on DockerHub.
Build your image on your local machine.
Tag your image as
<dockerhub username>/<image name>:<version>, i.e.my_account/my_image:1Note: You should increment the image version each time you update it.
Push your image to DockerHub.
Create a Dockerfile that inherits from the published image, i.e.:
FROM my_account/my_image:1
Start an image build task on the course admin page using that Dockerfile. The published image will be pulled and the build will finish quickly.